
For Bay Area homes, this matters particularly on concrete slabs, ground-floor rooms and properties with uneven older construction. A professional installation protects the investment in the material while creating the clean, continuous finish homeowners expect from a quality wood floor.
What engineered hardwood installation involves
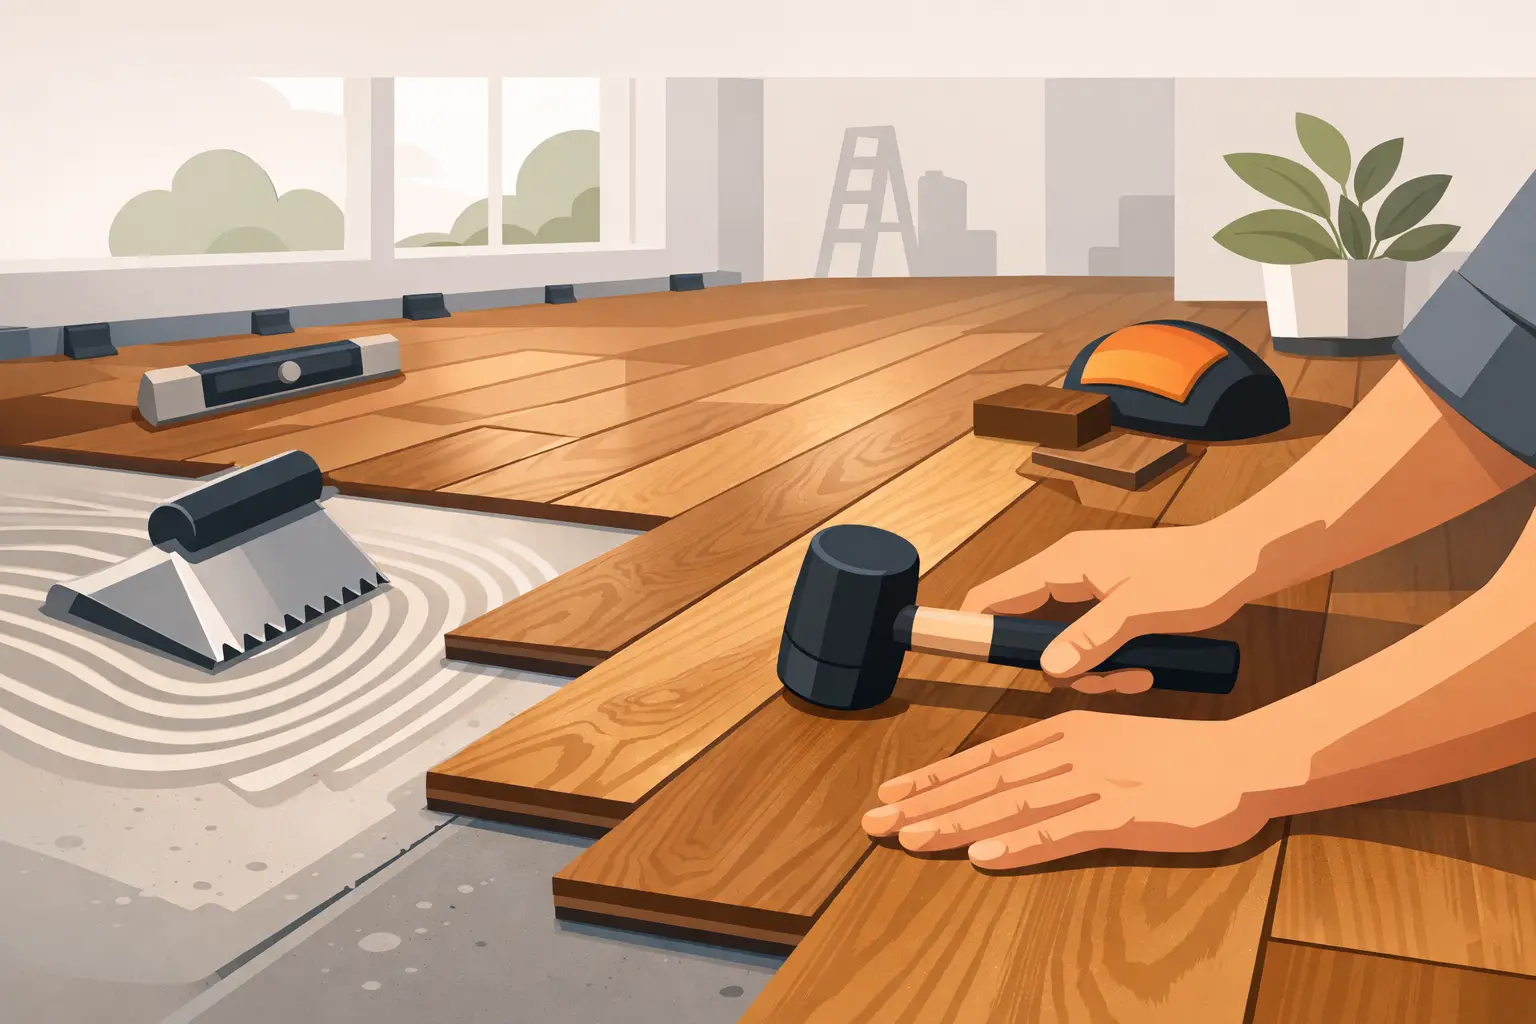
Engineered hardwood is real timber flooring, but its construction differs from traditional solid hardwood. Each plank has a hardwood wear layer over a stable multi-layer core. That layered construction helps it cope with normal seasonal movement better than solid wood, making it a practical choice for many homes, flats and renovation projects.
It is not, however, immune to moisture or installation errors. Boards can still cup, separate, lift or make noise when the subfloor is damp, uneven or poorly prepared. The visible timber surface also has a limited wear layer, so the floor’s potential for future sanding and refinishing depends on the product selected and the condition in which it is maintained.
The first decision is whether engineered flooring is the right material for the room. It performs well in living areas, bedrooms, hallways and many kitchens where spills are dealt with promptly. It is generally not the right choice for bathrooms, laundry rooms or locations with recurring water exposure. No wood floor should be treated as waterproof simply because it is engineered.
The subfloor decides the result
A floor can only be as stable as the surface beneath it. Before any boards are installed, the existing substrate needs a thorough assessment for flatness, structural soundness, movement and moisture. This is where a specialist contractor earns their value.
Concrete is common throughout the Bay Area and requires particular care. Concrete can retain and release moisture long after it appears dry to the eye. A moisture test identifies whether the slab is within the flooring manufacturer’s limits and whether a moisture-control system is required. Skipping this stage can lead to adhesive failure, warped boards or dark staining along the edges of the planks.
Wood subfloors need their own checks. Loose sheets, squeaks, low spots and damaged areas should be repaired before the new floor goes down. The surface must be sufficiently flat for the chosen plank width and installation method. A floor can follow a gently uneven substrate only up to a point; excessive variation leaves unsupported areas that flex under foot and can damage the locking system or adhesive bond.
Preparation may include levelling compounds, patching, grinding high areas, replacing damaged subfloor sections or installing an approved moisture barrier. These steps are rarely the glamorous part of a renovation, but they prevent the expensive problems that appear after furniture has been moved back into the room.
Choose the right fitting method
Engineered boards can usually be floated, glued down or fixed using a combination of adhesive and mechanical fasteners. The correct choice depends on the product, subfloor, room conditions and manufacturer requirements. There is no single method that suits every property.
A floating floor locks together above an underlay rather than being bonded directly to the substrate. It can be efficient in suitable rooms and allows the floor to move as one surface within its required expansion space. It is important that cabinets, heavy fixed islands and other permanent fittings are not installed on top of a floating floor unless the manufacturer specifically allows it. Restricting movement can cause boards to peak or separate.
Glue-down installation bonds each plank directly to the prepared subfloor with a specified flooring adhesive. It is often preferred over concrete and can give a more solid feel under foot. It also demands exact preparation: the adhesive must be compatible with the flooring, moisture-control system and substrate. Using the wrong adhesive, applying it too heavily or allowing it to skin over before boards are laid can compromise the bond.
Nail-down or staple-assisted installation is more common over approved wood subfloors. In some cases, installers use adhesive alongside fasteners to reduce movement and improve stability. The flooring manufacturer’s instructions should always govern the method. A good installer does not substitute habits or guesswork for the product specification.
Acclimatisation is not a formality
Engineered wood is more stable than solid planks, but it still responds to its environment. Flooring should be delivered, stored and acclimatised according to the manufacturer’s instructions in a building that is enclosed and maintained at normal living conditions. Heating, ventilation and air conditioning should be operating as they would after the project is complete.
Acclimatisation is not simply leaving unopened cartons in a garage for a few days. Garages, unfinished rooms and damp construction sites often have conditions that bear little resemblance to the finished home. The goal is to avoid installing wood that is significantly wetter or drier than the room where it will live.
Details that separate a clean installation from a quick one
The first row establishes the entire layout. Installers check walls for straightness, plan cuts at both sides of the room and avoid leaving a narrow, awkward final row where possible. Planks should be mixed from several cartons to distribute natural variation in grain and shade across the floor rather than concentrating similar boards in one area.
Expansion gaps around walls, door frames, pipes and fixed obstructions are essential. Timber changes dimension with fluctuations in temperature and humidity. Those gaps allow for normal movement and are later concealed with skirting boards, shoe moulding or suitable trim. Filling every perimeter gap tightly may look neat during fitting, but it can cause pressure-related problems later.
Door jambs should be undercut where appropriate so boards slide beneath them instead of being forced around their profile. Transitions between rooms, changes in floor height and connections to tile or carpet need to be planned before installation begins. These are small visual details, yet they strongly affect whether the completed floor looks intentional and professionally finished.
Stairs deserve separate consideration. Matching engineered treads, nosings and risers need secure fitting and carefully managed edges. Standard flat flooring boards are not a substitute for stair components designed to withstand concentrated foot traffic and provide a safe finished profile.
Can an engineered floor be sanded later?
Sometimes, but not always. The answer depends on the thickness and condition of the top hardwood layer, the depth of scratches or damage, and whether the floor has already been refinished. A high-quality engineered product with a substantial wear layer may allow careful professional sanding. Thinner veneers may only tolerate light screening and recoating, or no sanding at all.
This is a major trade-off when choosing flooring. Solid hardwood generally offers more opportunities for full refinishing over its lifetime. Engineered wood may offer better dimensional stability in certain settings, but homeowners should choose a wear layer that matches their expectations for durability and future restoration.
Protecting the floor from the beginning makes a difference. Use felt pads beneath furniture, keep grit off the surface with entrance mats, and clean spills promptly. Avoid excessive water, steam mops and harsh cleaning products that can dull the finish or force moisture into seams.
When professional installation is worth it
A straightforward square room with a stable subfloor is one thing. Older homes, concrete slabs, moisture concerns, wide planks, stairs, patterned layouts and open-plan transitions require more technical judgement. The cost of correcting a failed installation can exceed the cost of getting it right at the outset, especially once skirting, cabinetry and furniture are in place.
National Floors brings C-15 hardwood-floor specialist expertise and NWFA-informed processes to engineered flooring projects across the San Francisco Bay Area. A proper in-home assessment can identify substrate risks, recommend an appropriate installation system and provide a clear project-based scope before the work begins.
The best engineered wood floors do not call attention to the compromises made during fitting. They simply feel solid, sit flat, meet each room cleanly and continue to add warmth to the home long after installation day. Start with an honest assessment of the floor beneath it, and the finished result has every chance to earn its place for years ahead.
