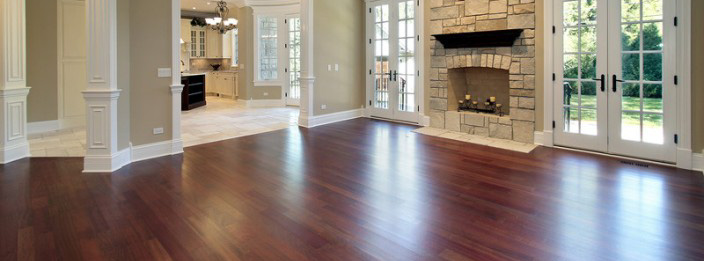

For Bay Area homeowners, stairs also often sit between original hardwood rooms, newer additions and changing subfloor conditions. The goal is not simply to fit timber to each step. It is to create a safe, balanced and durable transition that looks as though it has always belonged in the home.
Start With the Stair Structure, Not the Timber
A sound result begins with an inspection of the existing staircase. Before hardwood is ordered or cut, a flooring specialist should check for movement, uneven tread depths, loose risers, damaged framing, squeaks and signs of moisture exposure. Installing beautiful oak over an unstable stair will not correct the underlying issue. It can make the problem more difficult and costly to address later.
Stair geometry matters as much as structural condition. Each tread and riser should be measured individually because older homes rarely have perfectly identical steps. A small variation may be acceptable in the existing structure, but adding a thick hardwood tread or a new layer over the old finish can change riser height and create an uncomfortable or potentially unsafe climb.
The nosing also needs careful planning. This is the portion of the tread that projects beyond the riser below. It has a major visual role, but it also affects footing and the overall dimensions of the staircase. A specialist plans the nosing, tread thickness and transition at the top and bottom of the stairs before installation begins, rather than trying to solve those details with filler or trim at the end.
Choosing the Right Material for Hardwood Stairs
Solid hardwood is a classic choice for stair treads because it offers a substantial feel, can usually be sanded and refinished multiple times, and can be matched closely to existing solid-wood flooring. Oak remains popular for its strength, grain character and ability to take a wide range of stains. It is particularly practical where a homeowner wants stairs to blend with restored oak flooring in adjoining rooms.
Engineered hardwood can also be the right material, especially where movement, substrate conditions or floor build-up make solid timber less suitable. Its layered construction provides greater dimensional stability, although the quality and thickness of its wear layer vary significantly. Not every engineered product is appropriate for stair use or capable of being refinished in the future. Product selection should be based on the stair design, the expected traffic and the condition of the adjoining floors.
Matching does not always mean making every surface identical. A natural hardwood tread paired with painted risers can give a traditional staircase a clean, defined look. Full timber treads and risers create a more continuous finish, but they demand greater precision because every joint remains visible. Existing handrails, balusters, skirting boards and landing flooring should all be considered before deciding on species, colour and sheen.
Matching New Stairs to Existing Floors
Wood is a natural material, so even boards from the same species can vary in grain and tone. Sun exposure, ageing and previous staining may mean that a newly installed tread will not match an older floor straight from the box. Custom staining after installation gives more control over the final appearance, particularly when a staircase needs to connect a refinished lower floor with an upper landing.
Test areas are valuable when colour is important. They show how the selected stain and finish interact with the actual timber, rather than with a sample board viewed under showroom lighting. A good match considers undertones and sheen, not just whether the wood is described as light or dark.
What Proper Hardwood Stair Installation Involves
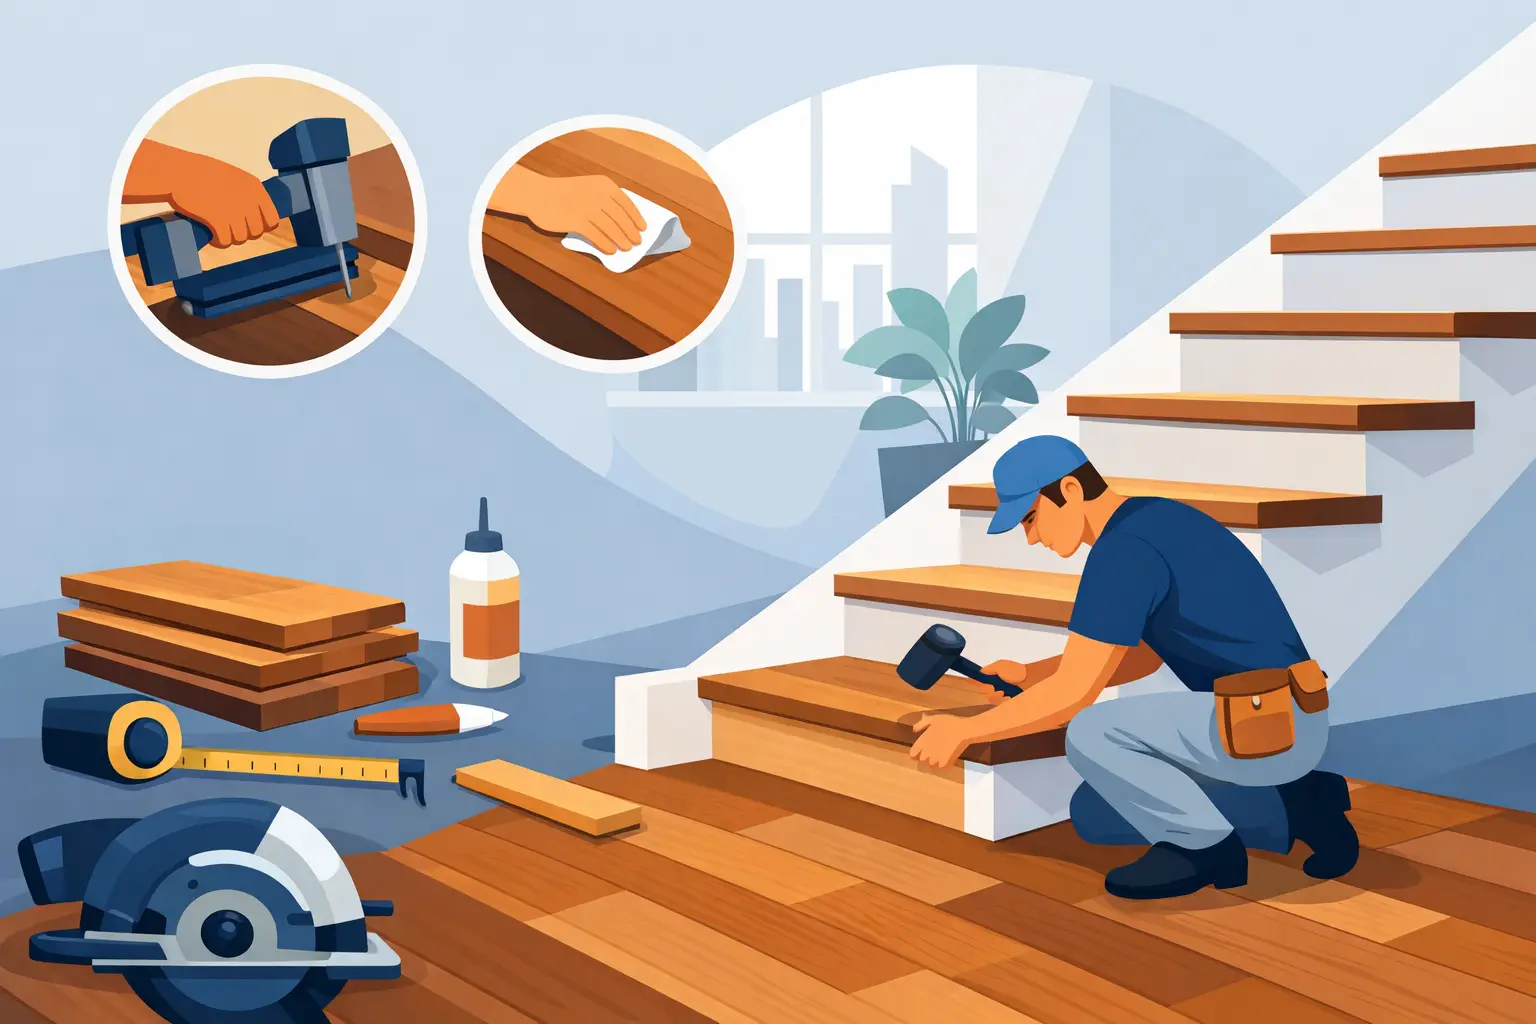
The method depends on the stair construction and material, but the sequence should be controlled from demolition through final coating. Existing carpet, laminate or worn coverings are removed carefully, and the surface below is assessed for damage. Adhesive residue, protruding fasteners and uneven patches must be dealt with before new hardwood is fitted.
Treads are then templated and cut to suit each individual step. Straight runs may appear simple, but walls are often out of square and stringers can vary from one side to the other. Curved stairs, winders and open-sided staircases require even more detailed layout. Cutting every tread to one nominal measurement is a shortcut that often leads to inconsistent gaps and heavy reliance on caulk.
Depending on the system, hardwood components may be glued, mechanically fixed or installed using a combination of both. The correct adhesive and fastening approach supports the tread without creating visible damage or unwanted movement. On concrete-adjacent areas or lower-level entries, moisture testing and suitable moisture control are especially important. Wood that is installed over a damp substrate can cup, gap or release from the surface.
Risers are fitted with the tread relationship in mind so that joints remain tidy and movement is minimised. Once the stair parts are secure, nail holes and small imperfections are filled appropriately, then the timber is prepared for staining and finishing. This is where experienced sanding makes a visible difference. Uneven sanding, cross-grain scratches or missed edges become far more obvious after colour and topcoat are applied.
Finishing for Traffic, Grip and Everyday Living
A stair finish has to do more than look polished on installation day. It must resist abrasion from shoes, pet claws and repeated cleaning while maintaining a comfortable level of grip. Extremely glossy finishes can highlight dust, scratches and surface irregularities, particularly near bright windows. Many homeowners prefer a satin or low-sheen finish because it gives hardwood a refined appearance while being more forgiving in active households.
Colour also involves a practical trade-off. Very dark stains can make a staircase dramatic, but they tend to show dust and scuffs quickly. Very pale finishes can highlight dirt on the leading edge of each tread. The best choice depends on the home's light, traffic level and maintenance expectations, not simply on a photograph.
Allow adequate curing time before treating new stairs as normal circulation space. The floor may feel dry before the finish has fully hardened. A contractor should explain when light foot traffic is appropriate, when rugs can be returned and how to protect the surface while other renovation work continues.
Common Shortcuts That Create Problems
The most frequent stair failures are not always caused by poor-quality timber. They often result from poor preparation or a rushed installation. Covering existing steps without accounting for changed riser heights can affect comfort and safety. Fitting hardwood over loose substrates can leave a staircase that creaks or shifts. Ignoring moisture conditions can lead to gapping, cupping or adhesive failure.
Another common mistake is treating the staircase as separate from the surrounding flooring. A new stair finish can look out of place if the landings, hallways and baseboards are not considered as part of the same visual system. In homes with existing hardwood, refinishing connected floors and new stair components together can produce a more consistent colour and sheen.
For stairs with deep wear, water damage or termite-related deterioration, repair may be needed before installation. Replacing only the visibly damaged top layer does not solve compromised framing or weakened subfloor material underneath. A proper assessment identifies what can be restored and what should be rebuilt for a dependable result.
Why Specialist Work Matters on Stairs
Stair work combines finish carpentry, hardwood installation and surface finishing in a highly visible area. There is little room for error at exposed edges, nosings, turns or landing transitions. The work also affects how safely people move through the home every day.
National Floors approaches hardwood stairs with the same practical attention used for hardwood restoration and installation: assess the substrate, select materials suited to the location, prepare the surface correctly and apply a durable finish that supports the intended look. A C-15 hardwood-floor specialist and NWFA-informed process are particularly valuable when existing floors, moisture concerns or colour matching complicate the job.
Before committing to a design, arrange an in-home assessment and view the staircase in the context of the surrounding rooms. The right hardwood stair installation should feel solid underfoot, fit cleanly at every edge and continue to add character long after the first coat of finish has cured.
