
At National Floors, we have been sanding and refinishing hardwood floors throughout the Bay Area for decades. The goal isn't simply to remove the old finish. It is to remove only as much material as necessary, correct imperfections where possible and prepare the wood properly for the new stain and finish.
It Starts With the Floor, Not the Sander
Before sanding begins, we determine what the floor actually needs. Some floors require complete sanding and refinishing. Others may need repairs first, while a floor with only light surface wear may be a candidate for resurfacing instead.
We also look for water damage, loose boards, deep stains, gaps, cupping, exposed nails and previous repairs. If there is an active moisture problem, that should be corrected before refinishing begins.
Engineered flooring requires additional consideration because the thickness of the real hardwood wear layer determines whether it can safely be sanded. This is one reason an experienced hardwood flooring contractor should inspect the floor before work begins.
The Professional Hardwood Sanding Process
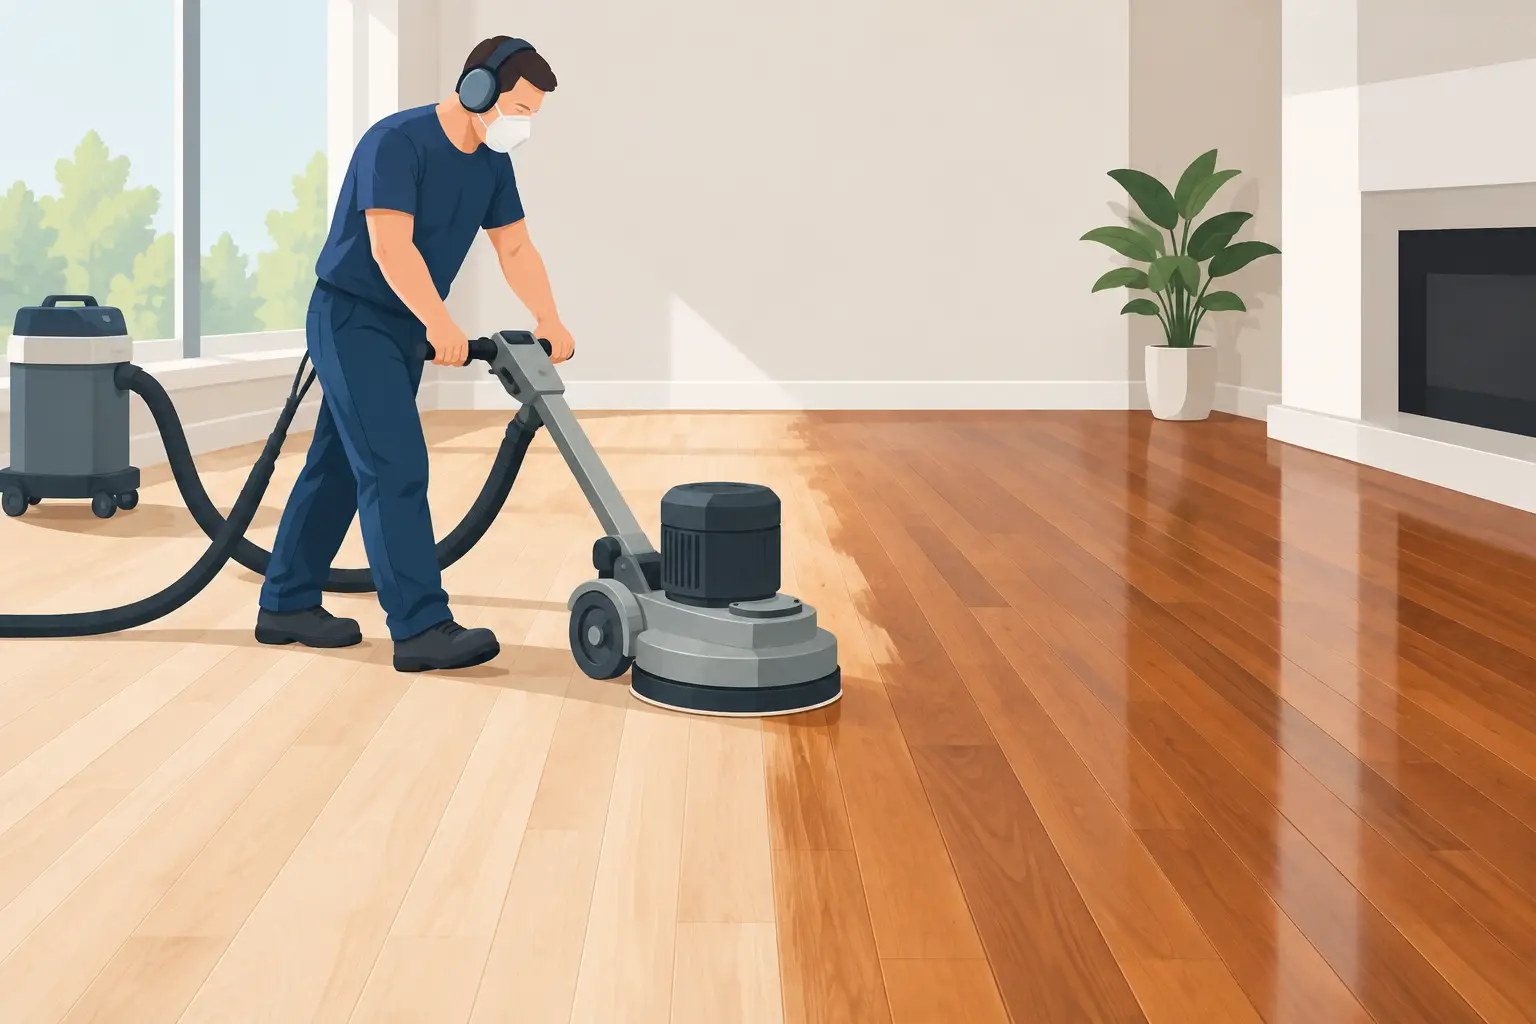
 Once the floor is ready, sanding normally begins with a professional belt sanding machine. The starting abrasive depends on the existing finish, condition of the floor and amount of correction required.
The first sanding removes the old finish and begins flattening the floor. The objective is not to grind away as much wood as possible. A hardwood floor only has so much usable material above the tongue and groove, so preserving the floor is always important. The average amount of flooring removed is about 1/32 of an inch.
Areas the main sanding machine cannot reach are handled with professional edging and detail equipment called the "edger." The perimeter sanding must blend with the main field of the floor, so the sanding sequence, or choice of grit, must remain consistent with what's being used in the field. Poorly blended edges can leave a visible picture-frame effect around the room. That's the difference between amateur hour and professional hardwood floor sanding.
The floor is then sanded through progressively finer abrasives. Each sanding removes the scratch pattern left by the previous grit until the wood reaches the proper condition for staining or finishing.
Throughout the process, we look for sanding marks, remaining finish, low areas and other imperfections that need additional attention. Where appropriate, the floor can also be trowel-filled to improve the appearance of small gaps and imperfections before the final sanding.
Professional Equipment Makes a Difference
Professional hardwood sanding equipment is powerful, and in experienced hands it can produce a remarkably flat and uniform surface. That same power is also why hardwood floor sanding is not as simple as renting a machine and pushing it across the room.
On the other hand, professional sanding machines like a belt sander can destroy a floor when not used properly. The belt sander that we use is 7.5 horsepower, which is incredibly powerful and designed to get the job done quickly. A sanding machine that stops in the wrong place or is operated incorrectly can leave drum marks, or what are commonly referred to as "stop marks," waves or depressions in the wood. Removing those mistakes usually means sanding away even more of the floor.
National Floors uses professional sanding equipment and dust collection designed specifically for hardwood flooring. While no sanding process can realistically be called completely dust-free, modern dust-control equipment captures the overwhelming majority of sanding dust at the source and keeps the job considerably cleaner.
Choosing a Stain or Keeping the Floor Natural
Once sanding is complete, homeowners can keep the natural appearance of the wood or change its color with stain.
Oak provides many staining options, from light natural tones to much darker colors. Other species behave differently, which is why stain samples should be evaluated on the actual floor whenever possible.
We help our customers choose a color that works with the wood, the room and the look they want to achieve. The goal isn't simply choosing a color from a chart; it's determining how that color will actually look on your floor.
Protecting the Newly Sanded Floor
After sanding and staining are complete, the finish protects the hardwood from normal household use. The appropriate finish depends on the desired appearance, durability requirements and conditions in the home. There are many finish manufacturers that offer both water-based and oil-based finishes. Water-based and oil-based finishes offer different appearances, levels of durability and levels of VOCs (volatile organic compounds).
Proper application and drying time are important. A floor may feel dry before the finish has fully cured, so homeowners should follow the recommended schedule before replacing furniture, putting down rugs or returning the room to normal use.
We generally recommend waiting at least 24 hours before walking on a newly finished floor and following the specific instructions provided for the finish system used. Felt pads beneath furniture and proper hardwood floor care will also help protect the new surface.
Can Your Hardwood Floors Be Saved?
Many homeowners contact us believing their hardwood floors need to be replaced when sanding and refinishing can restore them for considerably less disruption and expense.
Others have floors that need repairs before refinishing, or conditions where sanding simply isn't the right solution. We would rather tell you what your floor actually needs than sell you work it doesn't.
If your hardwood floors are scratched, worn, stained or simply showing their age, National Floors can inspect them and explain your options. We provide professional hardwood floor sanding, refinishing, restoration and repair throughout the Bay Area.
Call National Floors to schedule an in-home hardwood floor assessment and find out what we can do with your floors.
