
Stairs receive concentrated foot traffic in a way that most floors do not. Shoes repeatedly strike the same front edge, hands touch the same rail, and pets can leave deep claw marks on a few favorite steps. A professional refinishing project can restore the original character of solid wood stairs, improve their appearance and protect the wood from further wear. The right method, however, depends on the stair construction and how much usable wood remains.
When Should You Refinish Wood Stairs?
Surface scratches, faded stain, dull finish and minor dents are common reasons to refinish stairs. These signs do not necessarily mean the wood is damaged beyond repair. In many cases, sanding removes the old finish and a very thin layer of wood, allowing a fresh stain and protective coating to transform the staircase.
The warning signs become more serious when bare wood is visible, the tread edges are badly worn, boards are split, or steps squeak and move underfoot. Water damage may leave black staining or raised grain. Termite damage can weaken treads, stringers or adjoining flooring. These are not cosmetic issues to cover with a darker stain. They require repair and, in some cases, replacement of affected components before refinishing begins.
Solid hardwood treads are generally the strongest candidates for sanding and refinishing because they provide substantial usable wood. Engineered wood stairs need closer inspection. Some engineered products have a thick enough hardwood wear layer to be refinished carefully, while others cannot tolerate a full sanding without exposing the material beneath the veneer. Laminate stair coverings cannot be sanded and refinished like genuine hardwood.
A flooring professional should also determine whether the existing stairs are genuine wood treads, wood overlays or flooring boards fitted over a stair structure. That distinction affects the repair options, sanding approach and expected result.
What a Professional Stair Refinishing Process Involves
Refinishing a staircase is detailed work. Unlike an open room, stairs have narrow surfaces, vertical risers, tight corners and exposed edges that show every inconsistency. A good result comes from careful preparation, not simply applying a new coat of finish.
Inspection, Repairs and Preparation
The project starts with an inspection of the stair system and nearby flooring. Loose treads should be addressed, protruding nails or staples set correctly, and damaged wood repaired before sanding. If a stair has been patched in the past, the contractor must determine whether the repair can blend with the surrounding wood or whether a more suitable replacement piece is needed.
Carpet removal often reveals surprises. There may be tack-strip holes, paint drips, adhesive residue, staple marks or sections that were never intended to be visible. Many of these conditions can be improved or repaired, but homeowners should understand that deeply stained wood and old patchwork may not disappear completely. A natural wood finish can make grain variation more visible, while a custom stain may help create a more even overall appearance.
Protection matters just as much as preparation. Stair refinishing can create considerable dust if it is handled poorly, and stairwells connect multiple levels of a home. Dust-controlled sanding equipment, containment practices and careful preparation help reduce disruption to adjacent rooms and furnishings.
Sanding Without Damaging the Profile
Stair treads cannot be treated exactly like a large hardwood floor. The nosing at the front of each step is especially vulnerable. Aggressive sanding can alter its rounded profile, change the appearance of the tread or leave visible machine marks. Corners and risers require controlled handwork and specialized equipment to avoid gouging the wood.
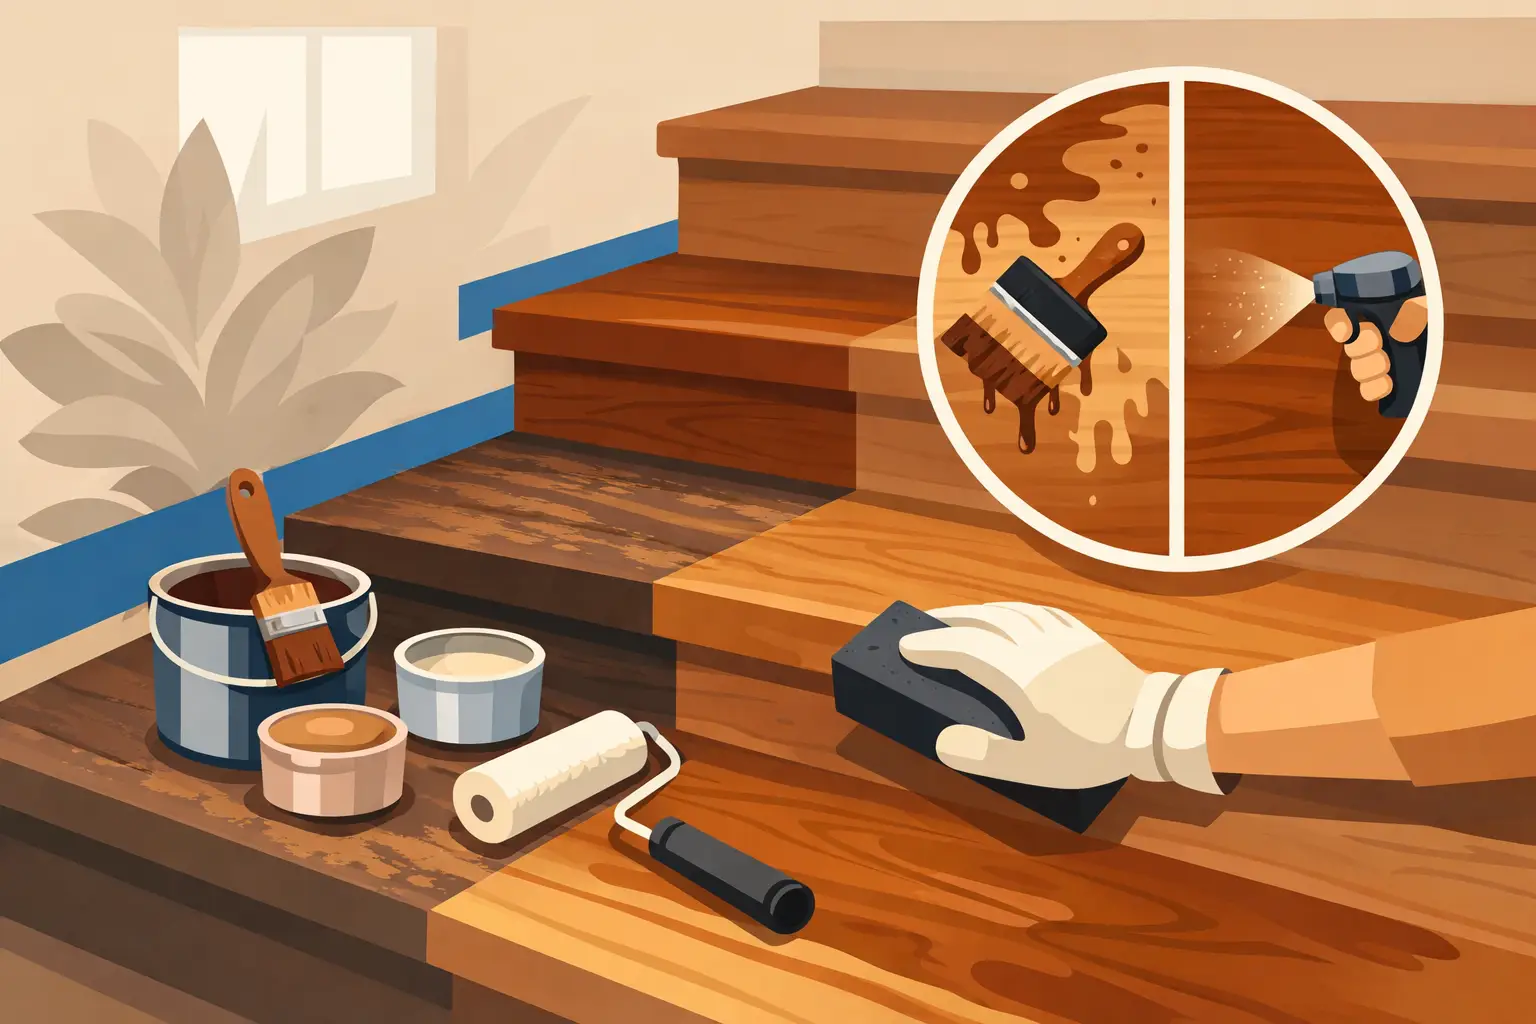
The sanding sequence removes the old finish, reduces minor surface damage and progressively prepares the wood for staining or sealing. The goal is not to remove as much wood as possible. It is to remove only what is necessary to create a clean, even surface that will accept the new stain and finish properly.
This is one reason a do-it-yourself stair project can become expensive quickly. Rental equipment that may be manageable on broad floor areas can be difficult to control on narrow treads, edges and curved nosings. Uneven sanding, swirl marks and blotchy stain are difficult to disguise once the finish is applied.
The same principle applies throughout hardwood refinishing: removing unnecessary wood can shorten the useful life of the floor or stair. Our article How Often Should You Refinish Hardwood Floors? explains why the condition and previous sanding history of the wood matter.
Stain, Seal and Finish Selection
Once the wood is prepared, stain can be used to refresh the existing color, darken pale wood or coordinate the stairs with newly refinished floors. Samples are valuable because wood species, previous repairs and lighting can change how a color appears from one step to the next.
Not every staircase needs stain. A clear finish can preserve the natural appearance of oak or other hardwoods and avoids making a narrow stairwell unnecessarily dark. On the other hand, a carefully selected stain can unify older stairs with a renovated interior. The best choice depends on the wood, the surrounding finishes and the homeowner's expectations.
The protective topcoat is where long-term performance is decided. Stair treads benefit from a durable floor finish designed to withstand abrasion and repeated cleaning. The finish should also provide a consistent sheen. Higher-gloss coatings tend to highlight scratches and surface irregularities more readily, while satin and matte finishes can provide a more subdued appearance.
Safety and Appearance Must Work Together
A beautiful staircase should still feel secure underfoot. Finish selection should account for the way the staircase is used as well as the appearance the homeowner wants. Households with children, pets or frequent stair traffic may have different priorities than a staircase that receives relatively little use.
Handrails, balusters and painted risers also affect the final design. Some homeowners refinish natural wood treads while keeping risers painted for contrast. Others prefer fully stained treads and risers for a traditional appearance. Where flooring continues onto an upper landing, coordinating the stair color and sheen helps the home feel intentional rather than pieced together.
If a tread is structurally compromised, refinishing is not the solution. Repair or replacement should come first. The same applies where old repairs have left a component unsuitable for further sanding or where water or insect damage has weakened the wood. A professional assessment protects both the finished appearance and the people using the staircase every day.
Common Mistakes That Shorten the Life of Refinished Stairs
One common failure is applying a new coating over a worn or contaminated surface. Old wax, polish, cleaning residue and failing finish can prevent proper adhesion, causing peeling, uneven sheen or premature finish failure. Proper surface preparation is necessary to create a sound foundation for the new coating.
Another mistake is rushing between coats or putting the staircase back into service too quickly. Finishes require appropriate drying and curing time, particularly in cool, damp or poorly ventilated conditions. A staircase is difficult to keep out of service, but using it too soon can leave footprints, dents and permanent marks in a coating that has not hardened sufficiently.
Color selection can also cause disappointment. A dark stain may make some old discoloration less obvious, but it can also emphasize sanding imperfections and change the overall appearance of a narrow stairwell. Lighter tones reveal more of the natural grain but may not conceal every previous repair. There is no universal best color. The right choice depends on the wood, its condition and the appearance the homeowner wants.
Finally, do not overlook the transition points. The top landing, bottom floor, trim and baseboards should be considered before work starts. Refinishing only the treads can look excellent, but the project needs a clear plan for where the new finish begins and ends.
How to Keep Refinished Stairs Looking Their Best
After the finish has cured, simple maintenance makes a real difference. Use mats at exterior entrances to reduce the amount of grit reaching the staircase, but avoid rug backings that could trap moisture or react with the floor finish. Sweep or vacuum with a soft floor attachment regularly because fine grit acts like sandpaper under shoes and pet paws.
Clean spills promptly with a cleaner appropriate for finished hardwood. Avoid soaking the steps, steam cleaning and harsh household chemicals. If the finish begins to dull after years of use but the wood itself is still protected, a maintenance coat may sometimes be possible before a full sanding is required. Acting early can preserve more of the original wood.
For additional ways to reduce everyday damage, see How to Protect Hardwood Floors for Years.
For Bay Area homeowners, refinishing is often the practical alternative to replacing a staircase that still has sound, genuine hardwood beneath the wear. National Floors can assess the condition of the treads, identify repair needs and recommend a refinishing plan that respects both the home's character and the demands of daily use.
A well-refinished staircase should not merely look new on completion day. With proper preparation, finishing and maintenance, it should remain an attractive and durable part of the home for years to come.
